As an Amazon Associate, we earn from qualifying purchases. Some links on this site are affiliate links at no extra cost to you. Our recommendations are based on thorough research and editorial judgment.

How to Diagnose Faulty Sensors in Compact Appliances
To diagnose faulty sensors in compact appliances, we start by listening for unusual crunching sounds and looking for irregular behavior like blinking lights. Next, we check for error codes on the display and refer to the manual for meanings. Testing the appliance with a multimeter helps us measure voltage output, ensuring it matches specifications. We categorize issues into electrical and mechanical, inspecting connections for wear. If we find faults, we’ll replace components with genuine parts for safety and reliability. More details are ahead.
Key Takeaways
- Listen for unusual noises and observe appliance behavior, such as blinking lights, to identify potential sensor issues.
- Check for error codes on the display and refer to the manual for meanings related to faulty sensors.
- Use a digital multimeter to measure voltage output from temperature sensors, ensuring it meets specified standards.
- Classify issues into electrical, mechanical, or thermal, and evaluate sensor functionality and connections to identify problems.
- Replace faulty components with genuine parts and test the appliance thoroughly after installation to confirm resolution.
Step 1: Listen and Observe

How do we start diagnosing faulty sensors in compact appliances? First, we need to listen for unusual noises during operation. These might indicate sensor issues or failing mechanical parts. Next, we should observe the appliance operation for irregular behavior. Are the lights blinking strangely, or is it making fizzing sounds? These signs can point to sensor malfunctions. We must also check for signs of wear and tear, especially on the sensor housing and wiring. Delayed or inconsistent responses from the appliance can suggest the sensor isn’t detecting conditions accurately. By focusing on these factors, we can better understand potential problems, ensuring our compact appliance runs smoothly. Additionally, utilizing high accuracy ratings can help to ensure sensors are functioning correctly. Let’s watch, listen, and confirm sensor functionality before proceeding further.
Recommended Products

【Top-Flight Performance 】The 51.2V 100Ah liFePO4 battery is manufactured by 16Pcs Automotive Grade A grade prismatic cells with higher energy density, more stable performance & greater power. And has a compact 5.12kWh energy, which is equivalent to 4pcs 12V 100Ah LiFePO4 batteries in 4S (or even 8pcs 12V 100Ah AGM batteries in 8S). Fully compliant with the UL1973 safety standard and certified by Intertek ETL for reliable safe operation.

Flexible Installation: This Model is designed to be installed in a wood-framed cavity in new construction, remodeling, or if you have an empty mantel cabinet
Perfect as a backup power source for larger homes or a dependable source of portable power
Step 2: Check for Error Codes

Once we’ve listened for unusual sounds, it’s essential to check for any error codes displayed on our compact appliance. We can start by utilizing the digital display, looking for alerts that indicate sensor failure or other appliance issues. Next, we should refer to the user manual for a detailed list of error codes and their meanings to help us diagnose issues accurately. If the manual’s missing, the manufacturer’s website is a valuable resource. It provides essential guidance on error code explanations. Let’s pay attention to specific codes related to faulty sensors, such as temperature or humidity sensors, which can impact performance. Documenting these codes will aid in troubleshooting and allow us to communicate effectively with service technicians if needed. Additionally, understanding cooling performance can help identify issues related to temperature sensors not operating effectively.
Recommended Products

Stable Non-Pulsed Low-Power Heating — Unlike many basic induction hot plates, electric hot plates, and portable electric burners that cycle on and off at lower settings, this 3500W commercial induction cooktop is designed for smoother low-power heating. It helps maintain steadier heat for simmering soups, warming sauces, holding stock, melting chocolate, and long-duration restaurant prep.

Double Cooking Zones:VBGK 2 burner Electric Cooktop, with two independent heating areas, It can quickly produce different delicious foods at the same time, cook more food in less time. The 12 inch Electric stove rated total power 2100W(1200W+900W),Suitable for 110-120V.

【1,500 Sq.Ft DEHUMIDIFIER】- Our dehumidifier for space up to 1,500 Sq.Ft: removes 30 pint (3.8 Gallons) of water per day (Please note: it means under 90°F/90%RH condition, the max dehumidification capacity up to 30 pints) and adjust humidity from 80% to 30%, cleaning comes with ease due to the removable PP filter and an exclusive Activated carbon filter. Perfect for Bathroom, Bedroom, Office, Basement, Cellar, Laundry room, Camper, Garage, Stockroom, RV, etc
Step 3: Test the Appliance

With diagnostic error codes in hand, it’s time to test the appliance. First, we should observe its operation for issues—like failure to heat or strange, unusual noises. We’ll utilize a digital multimeter to measure voltage output from the temperature sensors while the appliance runs. It’s essential that these readings align with the specifications in the sensor’s data sheet. Running a dedicated temperature cycle is the next step to guarantee the appliance reacts correctly to input. Remember, our test environment must mimic normal usage conditions for accurate results. It’s also important to document any discrepancies or unusual behaviors during our testing, as this will help ensure features like one-handed operation work as intended. This valuable information will guide us toward replacing faulty components if needed, assuring proper functionality moving forward.
Recommended Products

PREVENT MOISTURE PROBLEMS: A mobile non-destructive impedance moisture detector designed to survey moisture content in flat roofing & waterproofing systems (as per ASTM D7954); ideal for water leak detection in roofing materials & integrity testing
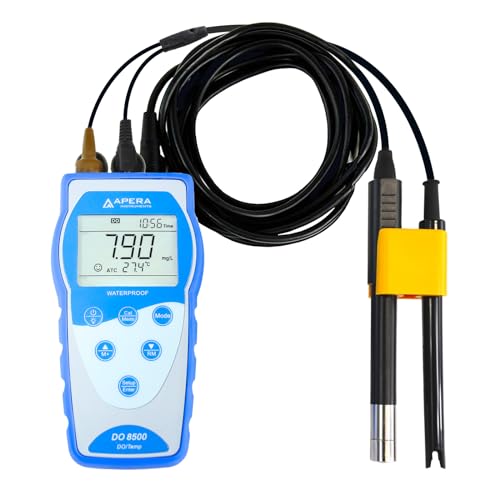
Equipped with state-of-the-art Optical DO sensor: measures dissolved oxygen level in a RELIABLE and EFFORTLESS manner

Real 6 1/2 digits resolution
Step 4: Break Down the Problem

Here is the updated content following your directions:
Understanding the problem is essential as we begin breaking it down. First, let’s classify sensor-related issues into electrical, mechanical, or thermal categories. This helps streamline our troubleshooting efforts. Next, we need to inspect specific sensors, such as temperature or humidity sensors, to see if they’re functioning within their operational ranges. We should evaluate connections and wiring; loose connections or damaged insulation can lead to inaccurate readings. Don’t overlook environmental factors like extreme temperatures or contaminants that might affect sensor reliability. It’s also vital to systematically document our findings at each stage, creating a clear overview of the issues. This documentation aids our diagnostics and makes future troubleshooting more effective as we tackle sensor-related problems accurately. Additionally, considering the energy efficiency of induction cooktops may help identify any abnormal temperature readings from cooking appliances.
Recommended Products
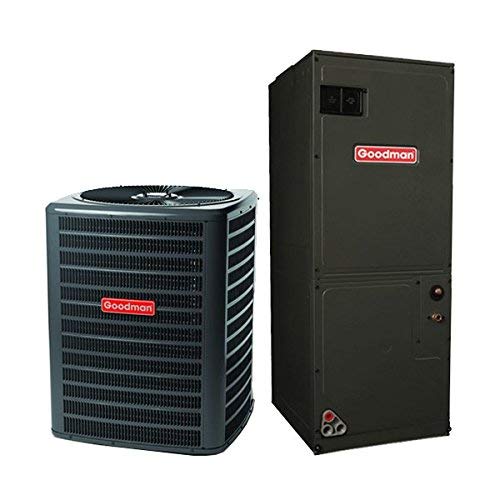
Home Comfort Solution: Elevate your living with Goodman's standout HVAC products. Merge the efficiency of the Goodman 1.5 Ton 15.2 SEER2 Heat Pump GLZS4BA1810 and the Goodman Multi-Position Air handler AMST24BU1300. This duo forms the basis of a system, promising efficient heating and cooling and precision in temperature control, all crafted to deliver sustained performance over years. Note that you will want a heat kit if you live in a cold climate.
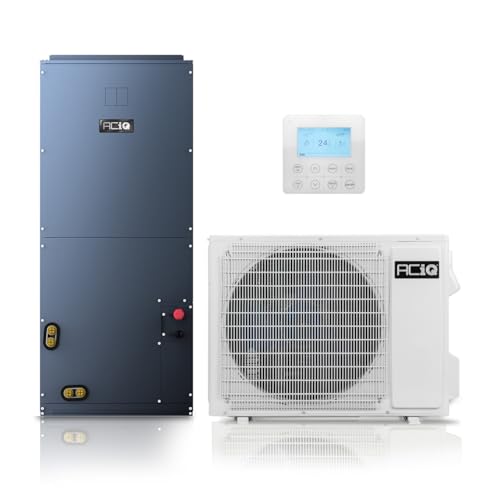
CERTIFIED ACiQ SELLERS: Everything you need for reliable HVAC solutions!

This Heat Pump unit (GLZS4BA4210) is an ideal replacement for older Goodman models such as GSZ140421 SSZ140421 and GSZ140421,SSZ140421,GSZ130421. This unit offers improved efficient over previous models so you can enjoy better performance and cost-saving efficiency.
Step 5: Replace Faulty Components

After diagnosing the sensor issue, we can now focus on replacing the faulty components. First, we should confirm we’re using genuine parts that meet the manufacturer’s specifications. This is essential for appliance compatibility and performance. To find the right component, let’s verify the model number, like LG AGL74074307, and browse reliable online parts suppliers such as xpartsupply.com. When replacing the faulty sensor, we need to carefully follow the disassembly instructions to prevent damaging other connected parts. Once we’ve replaced the sensor, it’s critical to test the appliance thoroughly. This confirms that the issue is resolved and the appliance functions as it should once again. By following these steps, we guarantee a successful repair. Additionally, it’s advisable to consider components that are BPA-free materials for enhanced safety and longevity in your appliance.
Frequently Asked Questions
How to Check a Faulty Sensor?
To check a faulty sensor, we’ll follow sensor troubleshooting tips, use diagnostic tools overview, and look into common sensor issues. If needed, we’ll consult the appliance maintenance advice and use the sensor replacement guide if necessary.
How to Use a Multimeter to Diagnose a Faulty Appliance?
To effectively troubleshoot appliances, we use a multimeter for electrical measurements, focusing on sensor testing. By employing diagnostic techniques, we can identify malfunctioning components and guarantee accurate operation through careful voltage and current evaluations.
How Do I Know if My Oven Temperature Sensor Is Bad?
Isn’t it frustrating when our meals don’t turn out right? If we notice oven sensor symptoms like inaccurate temperatures or long preheats, it might be time to replace the temperature sensor and review calibration for common sensor issues.
How to Electrically Test a Sensor?
To electrically test a sensor, we should identify sensor types, apply testing techniques with a multimeter, utilize troubleshooting tips and guarantee proper sensor calibration, while being mindful of common issues that could affect performance.


